How to Make New York Style Cheesecake at Home
Tall, creamy, delicious New York Style Cheesecake, who doesn’t love it? This recipe is one you can make at home and save yourself a trip downtown.
This is a cake you make in your kitchen and can eat in your pajamas if you’re so inclined!
We could almost be considered cheesecake fanatics at my house. It’s true that we’ve never met a cheesecake we didn’t love. And we’ve eaten enough cakes to prove that fact.
We enjoy all kinds of toppings on our cheesecake. We like all kinds of flavors and goodies mixed into our cheesecake. But the true test of a cheesecake recipe, is how does it taste plain and simple, like the original New York Style cakes.
This recipe is a combination of several that I read during the last month or so. I went searching for information on baking cheesecakes at home after receiving a springform pan for Christmas.
I’m sure there are plenty of folks out there who are thinking: You got a pan for Christmas and you’re excited?
Well, let me tell you, there are just as many folks out there thinking: Wish I had gotten a pan like that!
I’ve wanted one of these pans for a long, long time … probably longer than my children have been alive. (and that’s a long time for sure!) But for one reason or another, I never got a springform pan.
The reasons sound like a Dr. Seuss story: Too cheap, to expensive, too flimsy, too decorative. Too red, too blue, too old, too new.
I finally got one!! I think I love it! (is it too early to say that, after only one use?)
At any rate, I learned a whole lot about making cheese cakes before attempting one:
- Bake them at low temperature for a long time.
- Use a water bath.
- Use good quality ingredients.
- Bring ingredients to room temperature prior to mixing.
- Butter the pan generously. Then butter it some more.
- Be patient.
[bctt tweet=”Tips for the best New York Style #Cheesecake ever! “]
Some easy lessons and some hard ones. Who wants to wait patiently for that lovely cheesecake to cool?????
Trust me on this one, it is worth the wait. It also helps to bake the cake in the evening, then allow it to finish cooling while you sleep.
Make it a Meal:
All you need to do is add some toppings and a big cup of coffee or tea. You’ve got a meal.
I know it’s not balanced and nutritionists would argue with me about it. But come on! Its cheesecake and its good and why not make it your meal?
Variations:
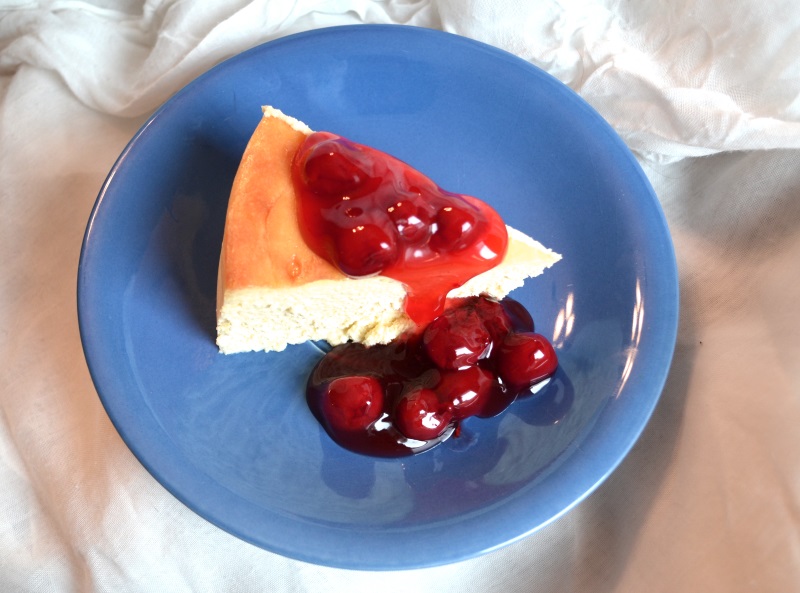
Add topping of your choice. I had a can of prepared cherry pie filling in the cupboard, so that’s what I used for the photo above. I seriously considered the apple pie filling – but decided my husband would prefer the cherry flavor. He sure did! Although, my 18 month old granddaughter wasn’t too sure about the cherries!
You can top your cheesecake with caramel sauce, chocolate syrup, any fresh fruit, some chopped nuts, or whatever takes your fancy. I plan on making many more of these cheesecakes and testing various toppings for the season or holiday so stay tuned!
Honestly, this cake is delicious all by itself, so you don’t need to add any toppings!
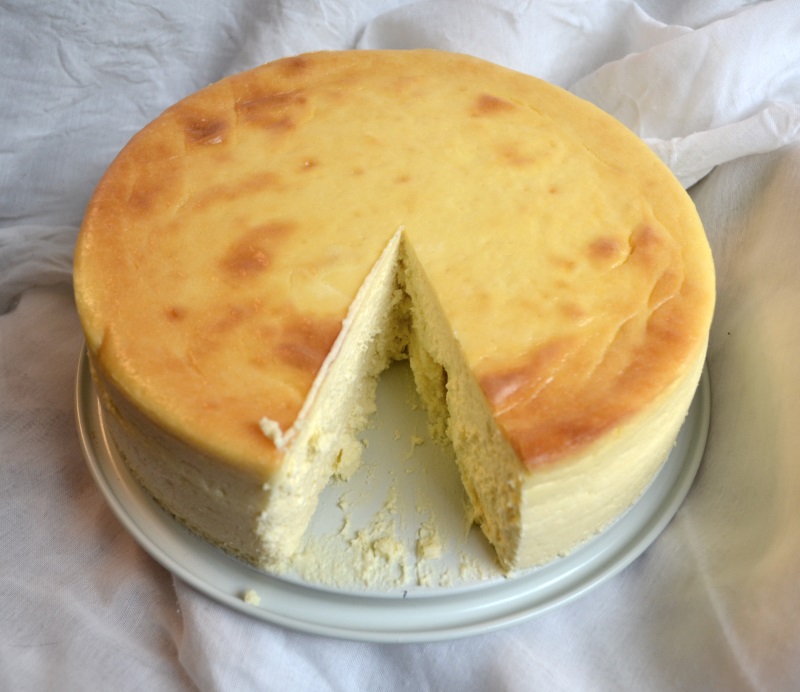
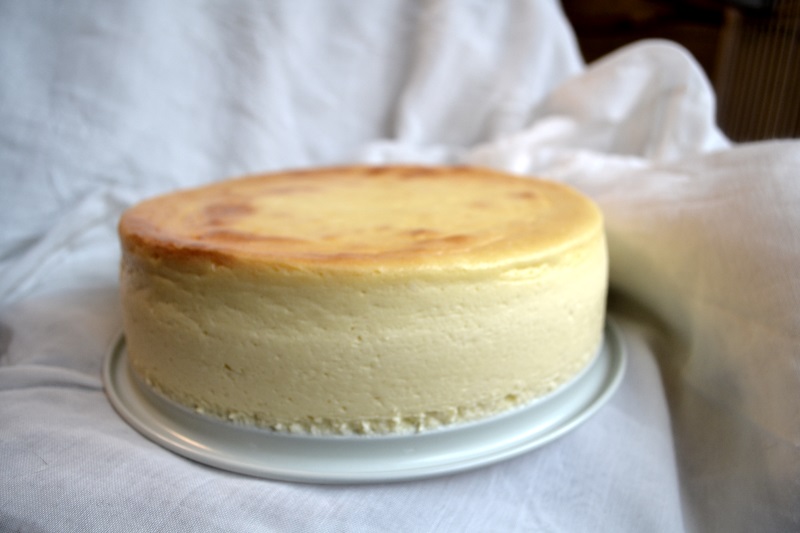
I mean look at that cake? Does it really need anything?
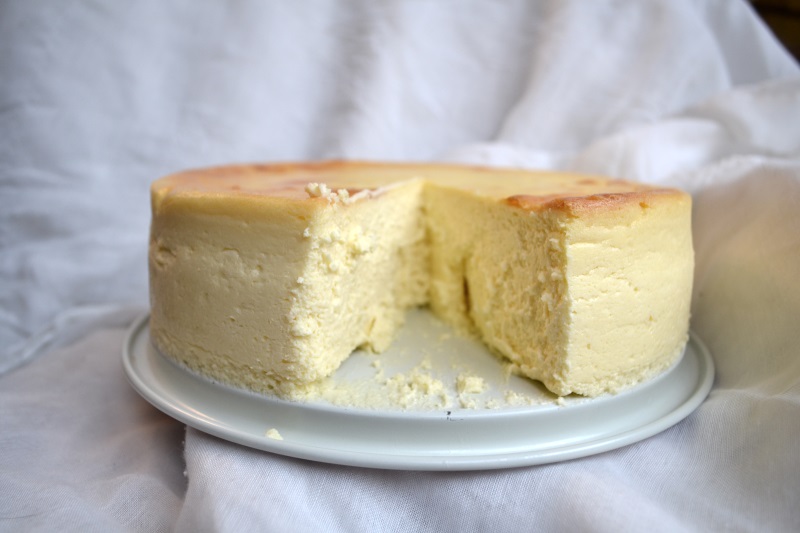
It is nearly 3 inches tall. And creamy – you can tell by looking at that edge. Don’t you wish you had a piece of it, right now?
By the way, did you notice there is no crust on this New York Style Cheesecake? Trust me, you don’t need it and you’ll never miss it!
However, if you really want a crust, add a graham cracker crust to the bottom of the pan prior to baking, you’ll be good.
Homemade New York Style Cheesecake Recipe
Ingredients:
- 32 oz Cream Cheese
- 5 lg Eggs
- 16 oz Sour Cream
- 8 TB Butter
- 1 1/2 c Sugar
- 2 TB Cornstarch
- 2 tsp Vanilla
- 1 tsp Lime Juice
Recipe Directions:
- Gather all ingredients on counter and allow to come to room temperature.
- Preheat oven to 300 degrees Fahrenheit.
- Coat springform pan with butter.
- Mix cream cheese and butter in large bowl with electric mixer until well blended.
- Add one egg, blend into batter completely. Repeat with each egg.
- Mix in sour cream.
- Add sugar, cornstarch, vanilla and lime juice. Beat for 2 minutes or until smooth.
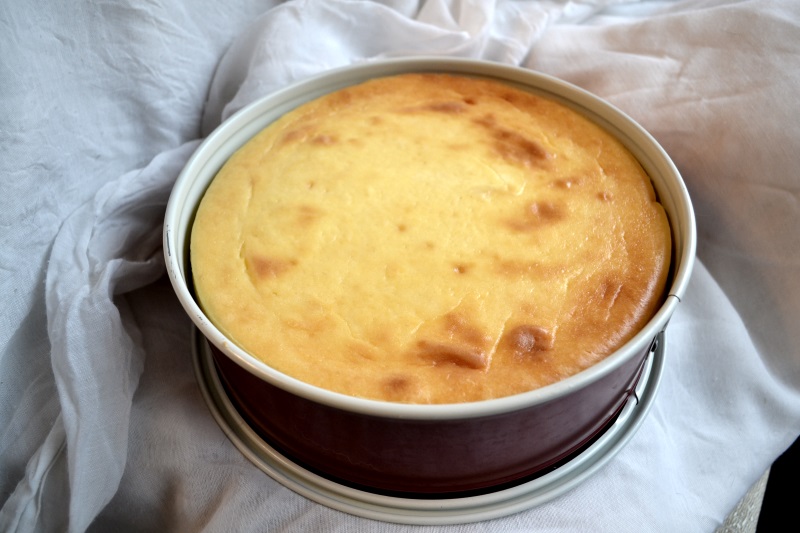
- Pour into springform pan.
- Place springform pan in large roasting pan and fill with water, at least half way up sides of spring-form pan.
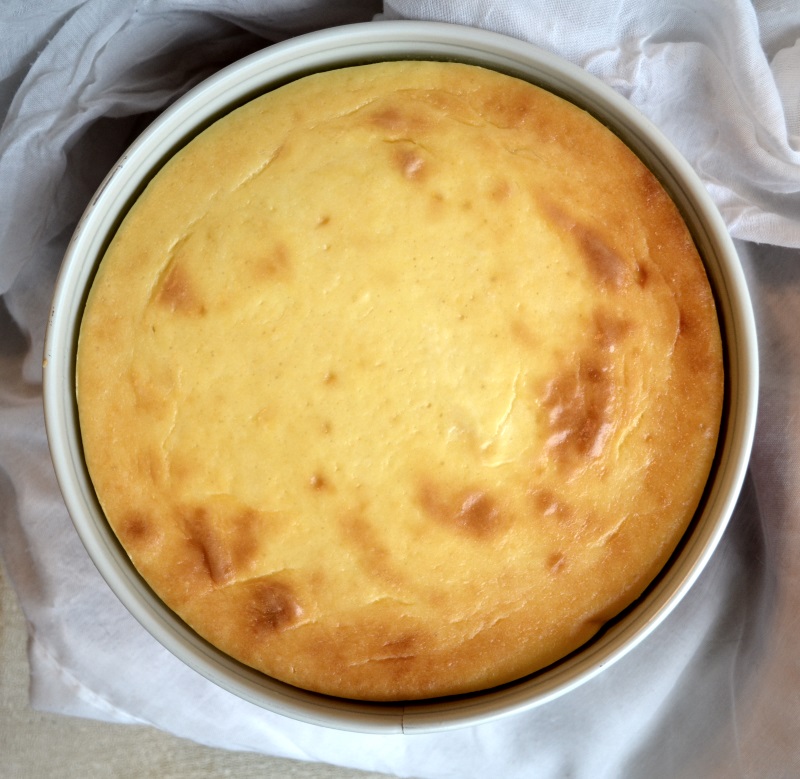
- Bake at 300 degrees for 2 hours or until top of cake is lightly browned. (Mine took an extra 15 minutes)
- Remove from oven and allow to cool. Loosen springform pan and place covered in refrigerator until ready to serve.
You can make this cake in a non – springform pan, you’ll simply serve it by the spoonful and won’t have the pretty slices. I have no doubt it will taste just as wonderful!
Approximate Nutritional Information:
Servings Per Recipe: 12 servings. Amount Per Serving: Calories: 529, Total Fat: 44g, Cholesterol: 208mg, Sodium: 301mg, Total Carbs: 34g, Protein: 9g
*note: I used full on, high test ingredients. If you use low fat, non dairy or other substitutes, your nutritional value will differ.
Interested in one of the books pictured above? You can purchase on Amazon here.
Follow ApronFreeCooking:
Twitter @ApronFreeCook
This post may contain affiliate links . There are no additional costs passed on to you if you click on the links in this post. Any money earned from commission helps me cover the cost of maintaining this website.

